
Step 1:
Create the TNZ SSO Application
- Log into Azure as an Administrator
- From the main menu, select 'Azure Active Directory'
- From the submenu, select 'Enterprise applications'
- Click 'New Application'
- Click 'Create your own application'
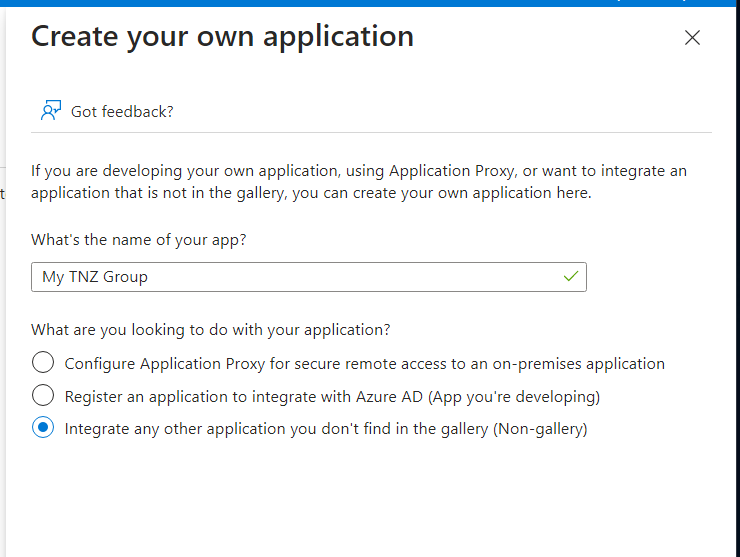
- Under 'Create your own application':
What's the name of your app?
My TNZ GroupWhat are you looking to do with your application?
* Integrate any other application you don't find in the gallery (Non-gallery) - Click 'Create'
Step 2:
Configure TNZ SSO Settings
- From the main menu, select 'Azure Active Directory'
- From the submenu, select 'Enterprise applications'
- Click on the My TNZ Group application
- From the submenu, select 'Single sign-on'
- Select the 'Password-based' option
- Under 'Sign on URL' input: https://my.tnz.co.nz/
- Click Save

Step 3:
Add SSO Users
- From the main menu, select 'Azure Active Directory'
- From the submenu, select 'Enterprise applications'
- Click on the My TNZ Group application
- From the submenu, select 'Users and groups'
- Click 'Add user/group'
- Select the users to add (click 'None Selected' and add users)
- Select all the applicable users
- Click 'Assign'
Step 4:
Add User Credentials
There are two options:
a) An Azure Administrator can follow these instructions to add credentials for each user, or
b) Pass these instructions on to each user to add their credentials themselves.
Instructions:
- From the main menu, select 'Azure Active Directory'
- From the submenu, select 'Enterprise applications'
- Click on the My TNZ Group application
- From the submenu, select 'Users and groups'
- Select your user (click the checkmark next to the user's Display Name)
- Click 'Update credentials'
- Enter the user's TNZ Dashboard username/password and click 'Save'


